The short version
- Photographing every variant is the most accurate, and the slowest and most expensive.
- Recoloring by hand works for flat colors but takes skill, and textures and sheen are hard to fake.
- AI variants are fast. Describe each finish precisely and check every image against a real sample before it goes live.
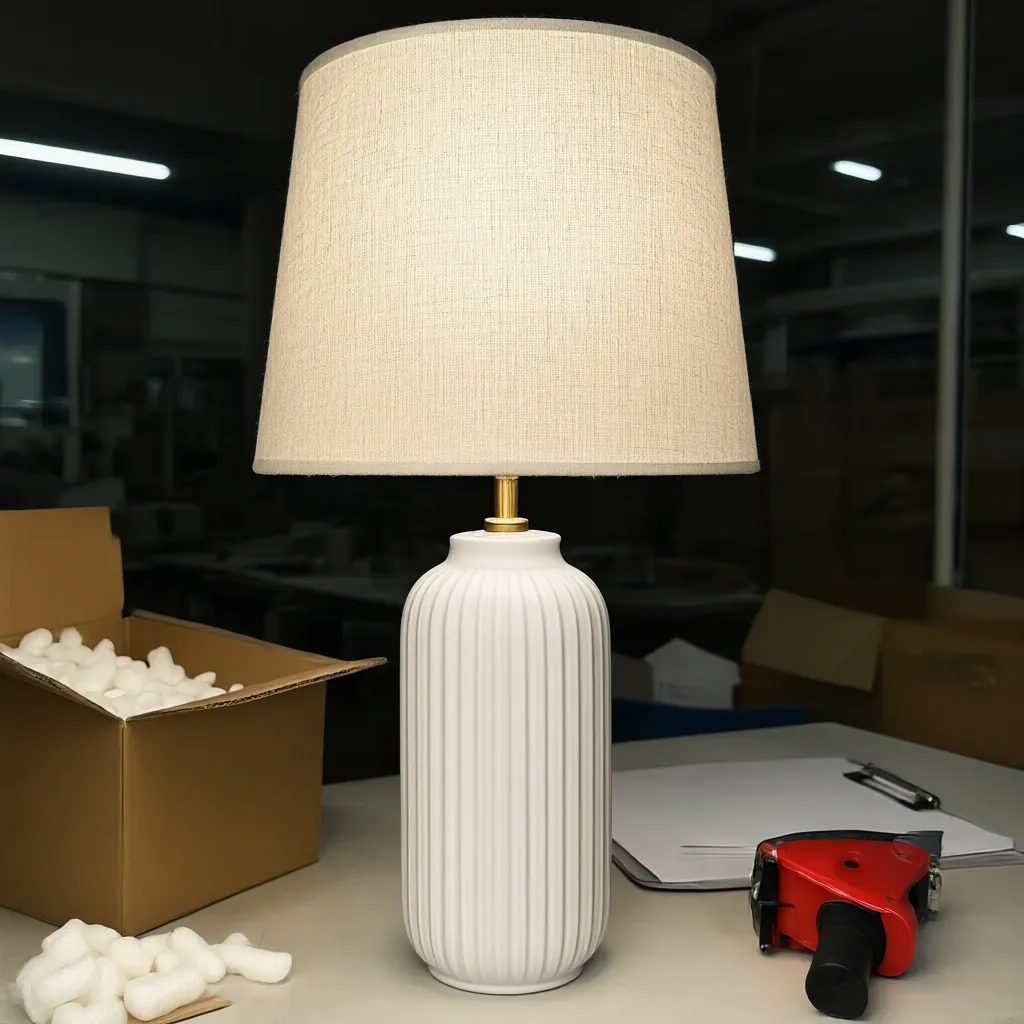
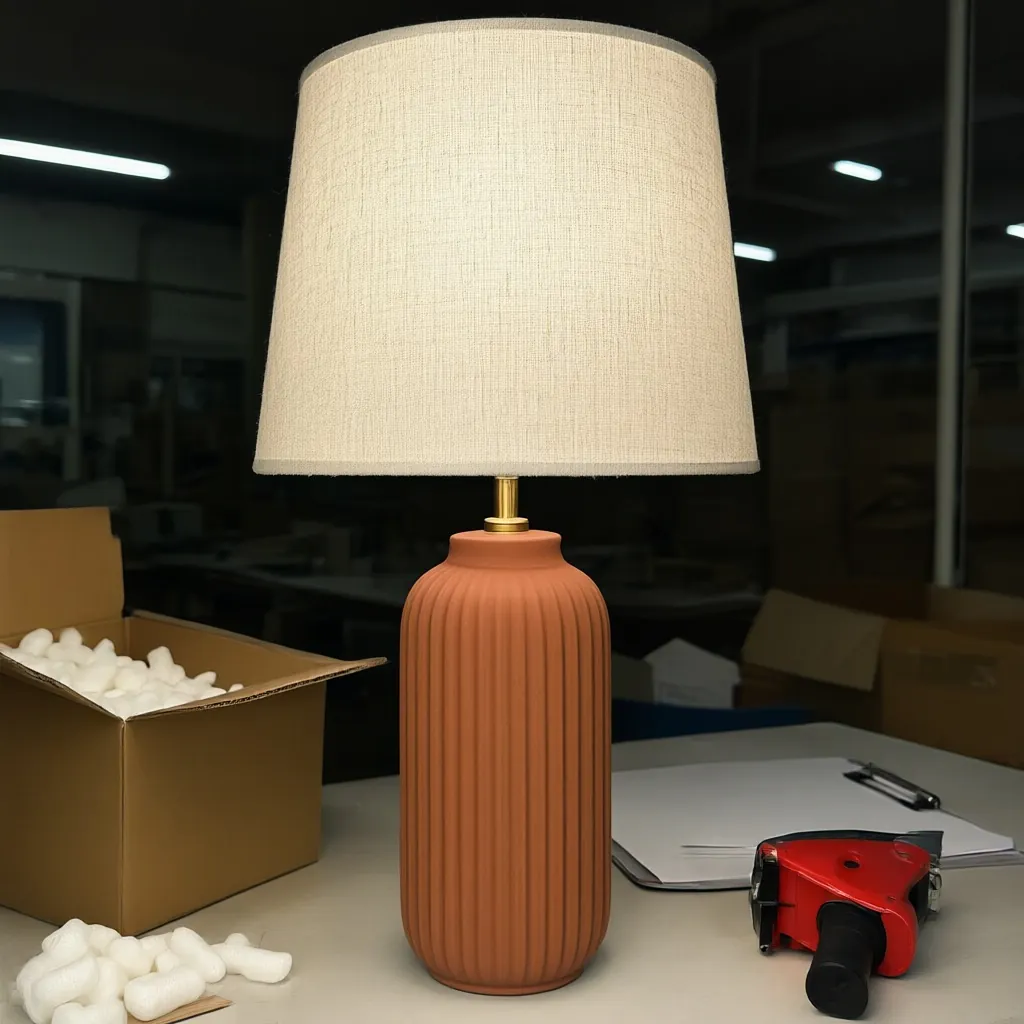
Why variants are a headache
Shoppers want to see the exact color they're buying. But variants multiply fast: a few products in a few finishes is suddenly dozens of photos. New colorways often go on sale before production samples exist, and shooting each one means booking photography again every time the range changes.
Option 1: Photograph every variant
The gold standard. Each image shows the real product, so color and texture are as accurate as your photography. The cost is time, samples and consistency: every variant needs to be shot in the same light, at the same angle, so the set looks like it belongs together.
Best for: your best sellers, and any finish where texture is the selling point.
Option 2: Recolor by hand in an editor
A skilled retoucher can recolor one master photo into several variants. It works well for flat, matte colors. It gets harder with gloss, metallics, woven fabric and anything with depth, because the highlights, shadows and texture need to change too, not just the hue.
Best for: simple color swaps when you already have a retoucher.
Option 3: Generate variants with AI
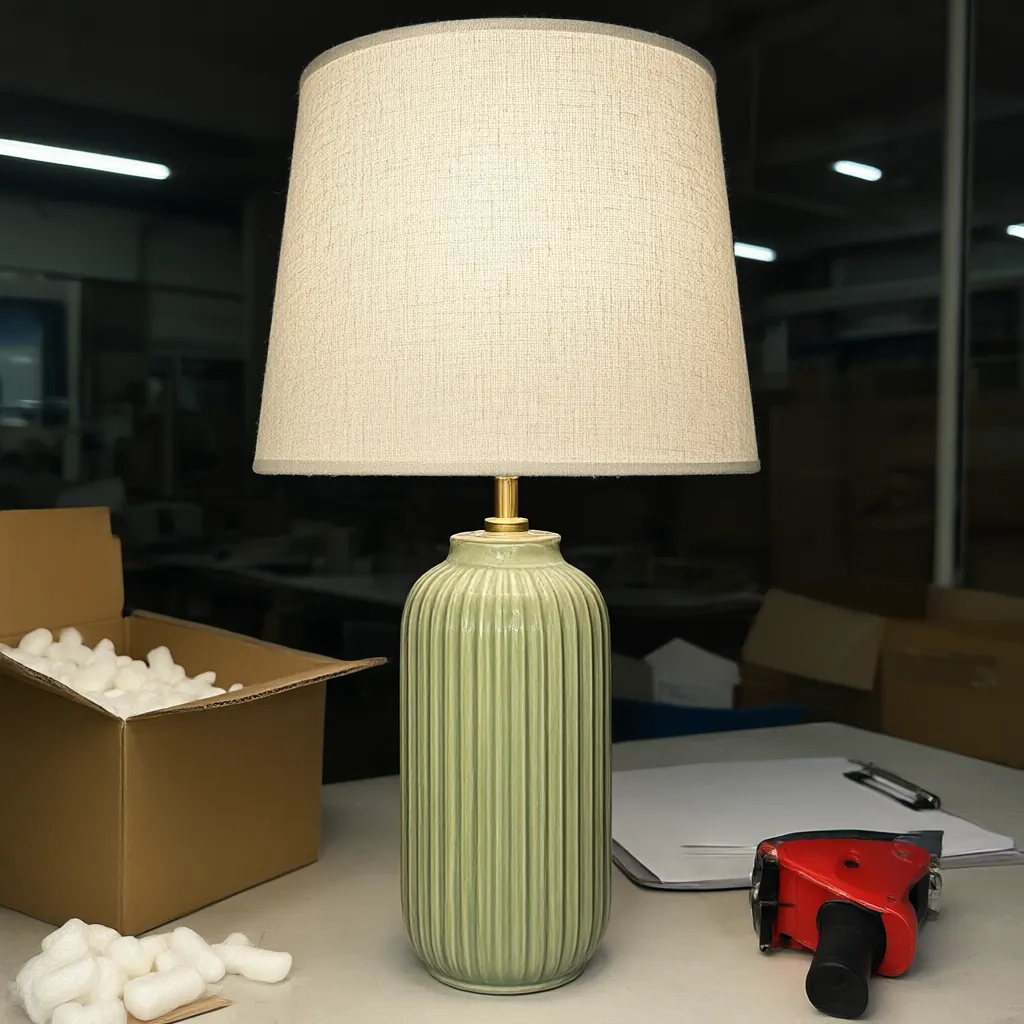
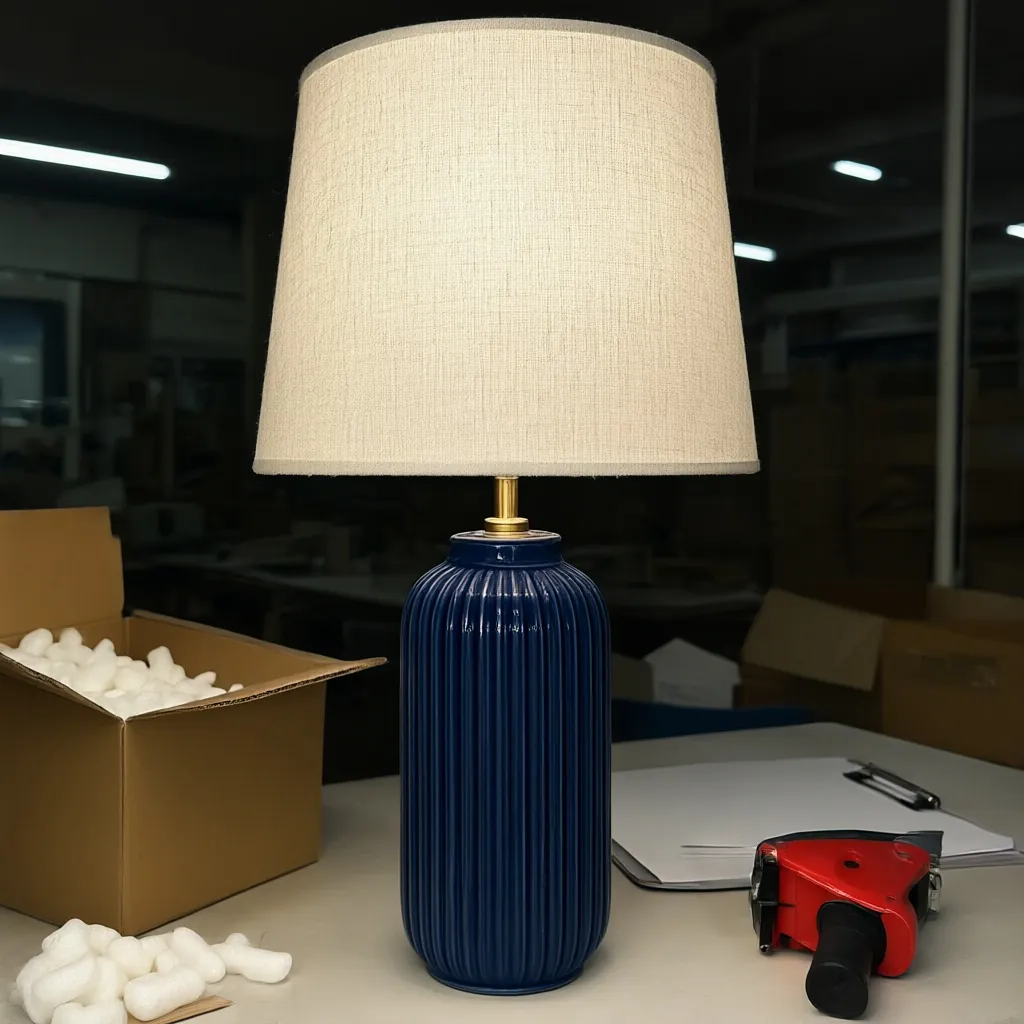
With a tool like the Variant Builder, you upload one photo, name the part that changes (the ceramic base, the upholstery, the frame) and list the finishes. You get one image per finish, and everything except that part stays the same: the shape, the setting and the rest of the product.
Best for: filling out a full color range quickly, previewing colorways before samples arrive, and line sheets.
How to describe a finish so it comes out right
The words you use matter. A single color word leaves too much open. Describe three things:
- Color, as specifically as you can: "deep navy", "warm terracotta", "oat".
- Material: glaze, linen, boucle, powder-coated steel, oak veneer.
- Sheen: matte, satin, gloss, brushed.
So "deep navy gloss glaze" rather than "blue", and "matte white glaze" rather than "white". Name the part precisely too: "the ceramic base" changes the base and leaves the shade alone.
Keep it honest: check every variant
A variant image is a promise about what arrives in the box. Before one goes live, put it next to a physical sample or your supplier's swatch. If it doesn't match closely, don't publish it. Re-describe the finish and try again, or photograph that variant for real. Returns and bad reviews from a color that doesn't match cost far more than a reshoot.
Where variant images go
- Product pages: most store platforms let you attach an image to each variant, so the photo changes when a shopper picks a color.
- Line sheets and catalogs for wholesale buyers.
- Pre-order and coming-soon pages, labeled clearly until production samples are photographed.
- Social posts asking followers to vote on the next colorway.
Name the part, list up to eight finishes, get one image per variant.
Variant Builder