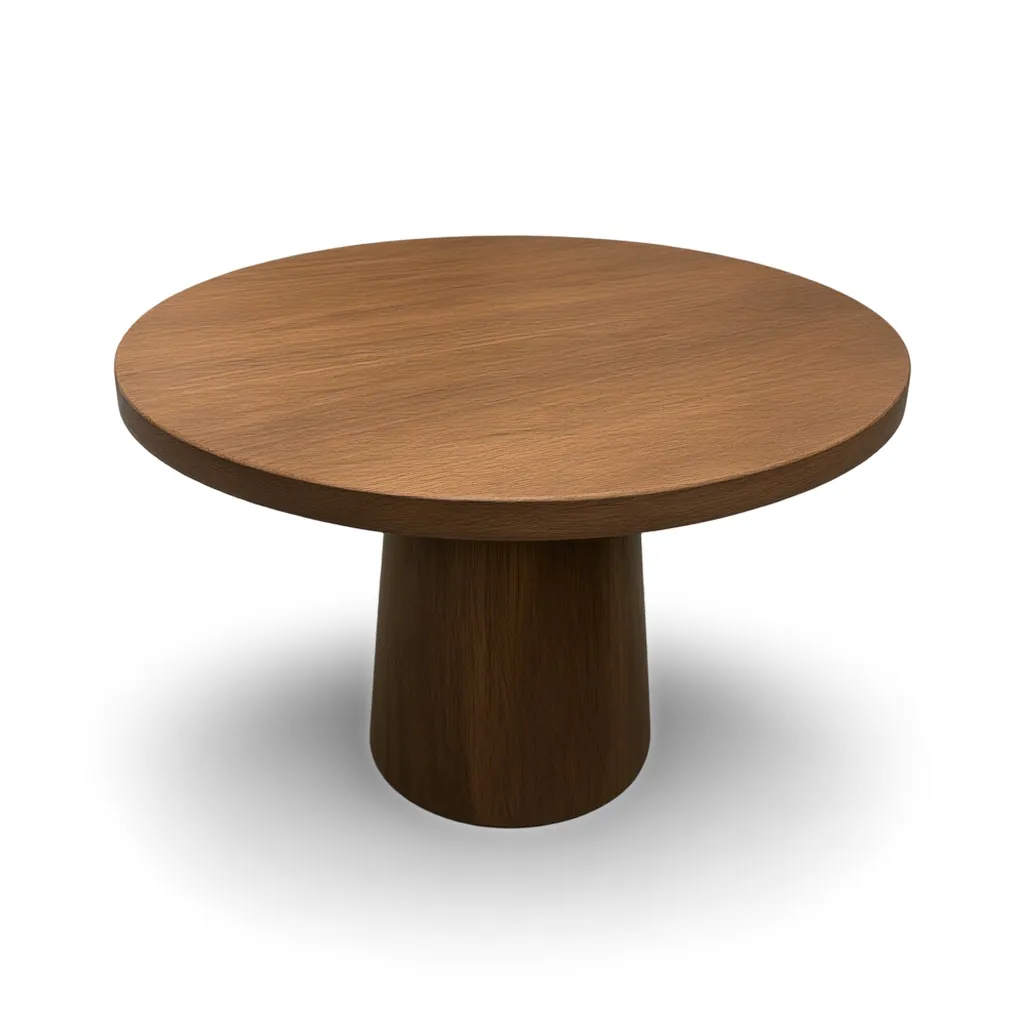
The checklist
- Get the whole product in the frame, with a little space around it.
- Shoot from around the product's own height, at a slight three-quarter angle.
- Use soft, even light. Turn the flash off.
- Tap to focus and hold still. Wipe the lens first.
- Make sure nothing covers any part of the product.
- Write down what it is, its finish, and any words printed on it.
What you actually need
A recent phone camera is plenty. Add a spot with decent light and enough room to step back from the product. That's it. A messy background is fine if you're going to turn the photo into a silo shot or a lifestyle scene, because the background gets replaced anyway.
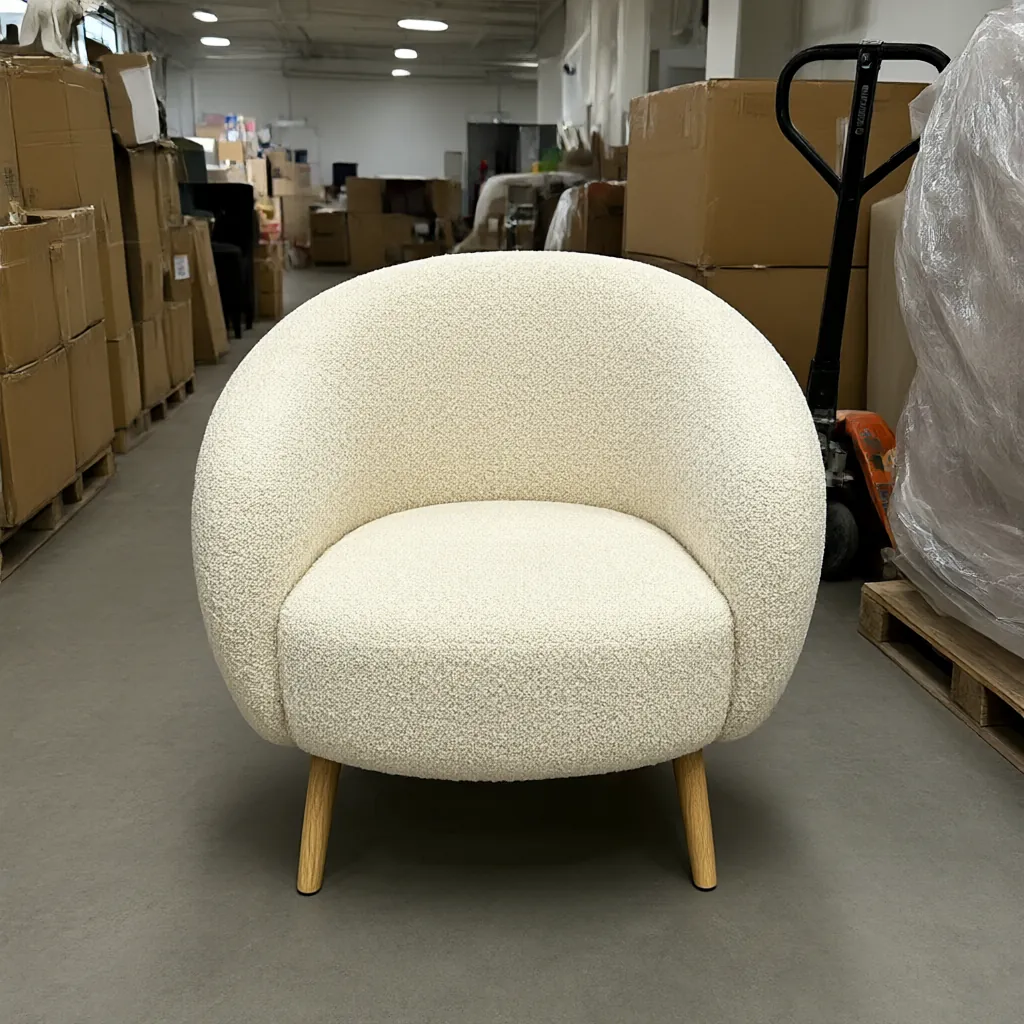
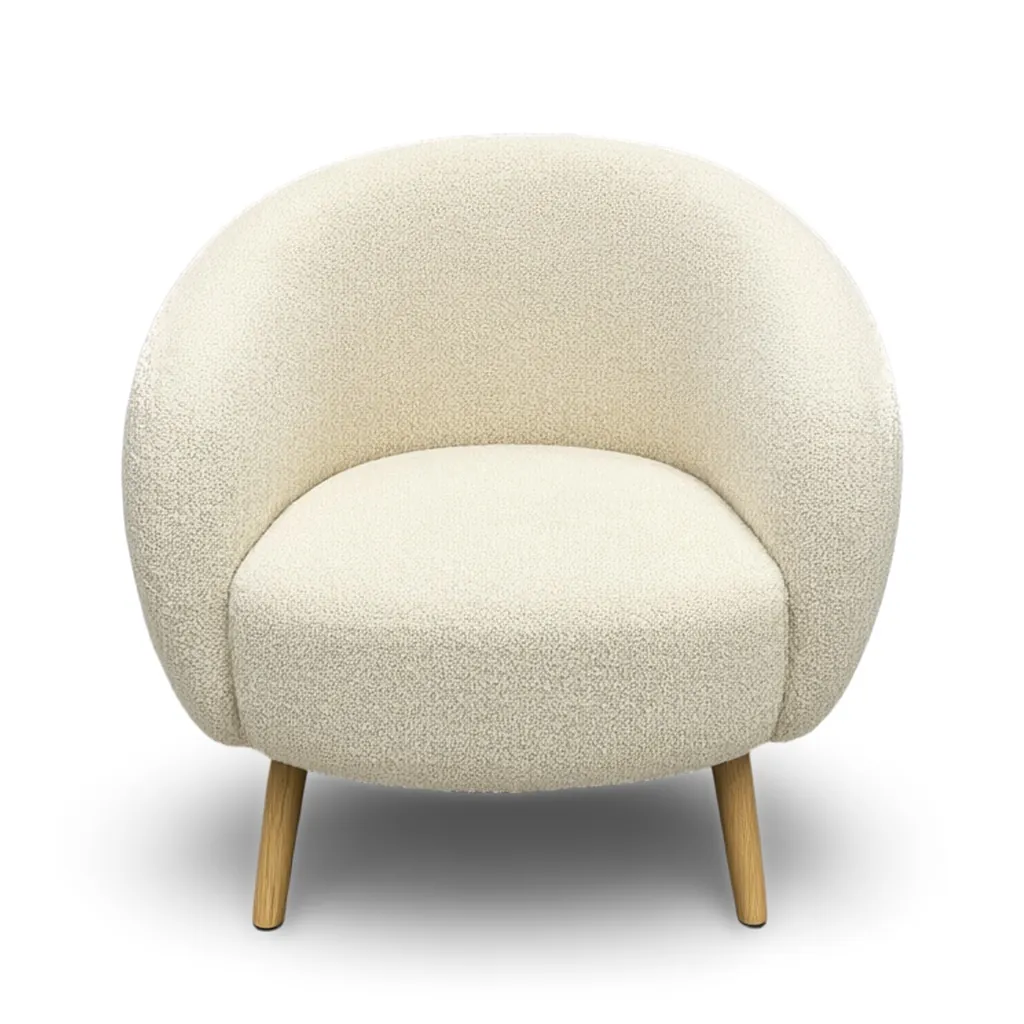
1. Get the whole product in the frame
Every leg, handle and corner should be in the shot, with a little empty space around the edges. Anything cut off by the frame has to be guessed later, and guesses are where products start looking wrong. If a piece is too big to fit, step back rather than switching to an ultra-wide lens, which bends straight lines near the edges.
2. Shoot from the product's height, at a slight angle
Hold the phone at roughly the middle height of the product, not above it looking down. For furniture, a three-quarter view (turned partway so you see the front and one side) shows the shape far better than a straight-on shot. For small items like mugs and candles, crouch down so the camera is level with them.
3. Use soft, even light
Daylight from a window, an overcast day outside, or a bright room with the overhead lights on all work. What to avoid:
- The flash. It makes hard glare on glass, glaze and polished wood, and flattens texture.
- Harsh direct sun that throws dark, sharp shadows across the product.
- Mixed light colors, like warm lamps plus cool daylight, which can tint parts of the product different colors.
4. Keep it sharp
Wipe the lens (phones live in pockets), tap the screen on the product to focus, and hold still for a moment as you take the shot. Take two or three and keep the sharpest. A soft, blurry photo loses fine detail like weave, grain and printed text, and that detail can't be invented back accurately.
5. Don't let anything cover the product
Clutter around the product is fine. Clutter in front of it isn't. A box hiding a chair leg or a cable across a lamp base means part of the product is missing from the photo, and anything that fills it in has to guess. Move things out of the way, or use an object remover on things that sit beside the product rather than on it.
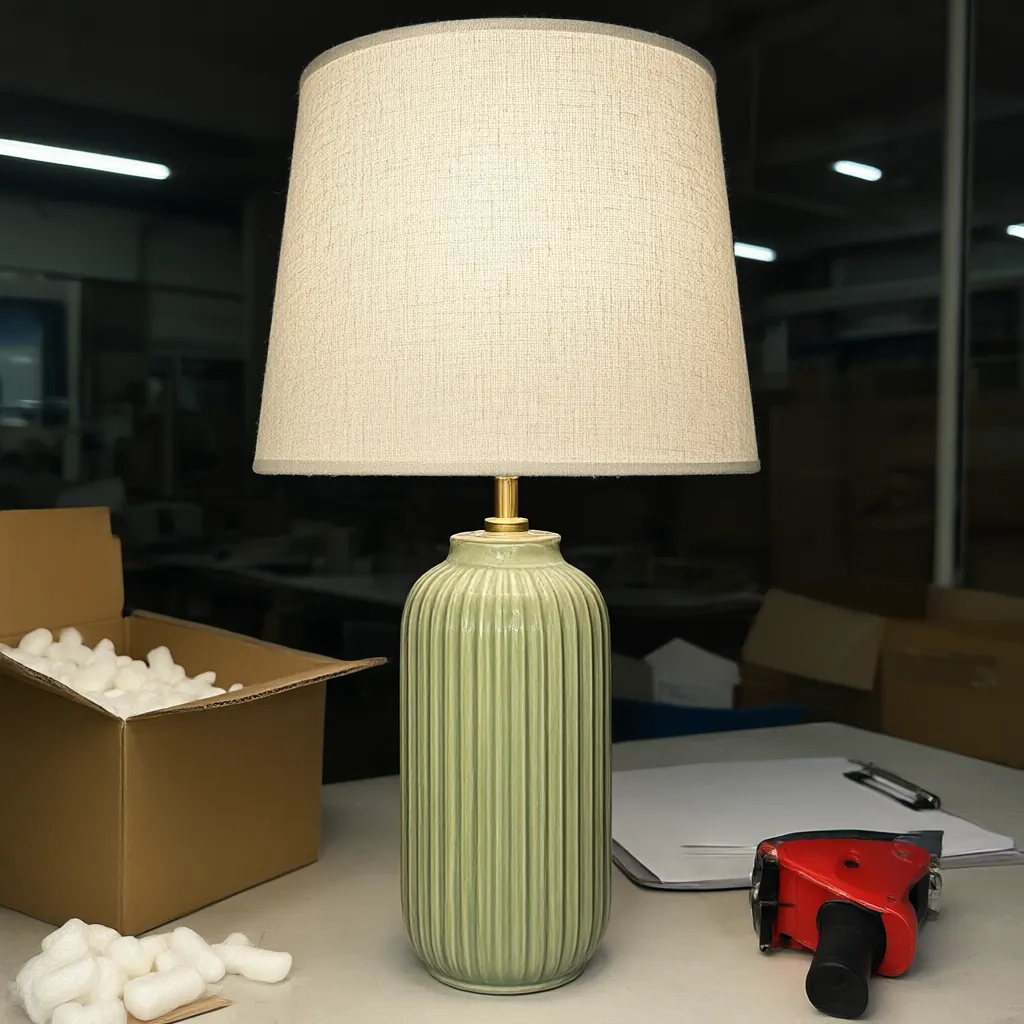
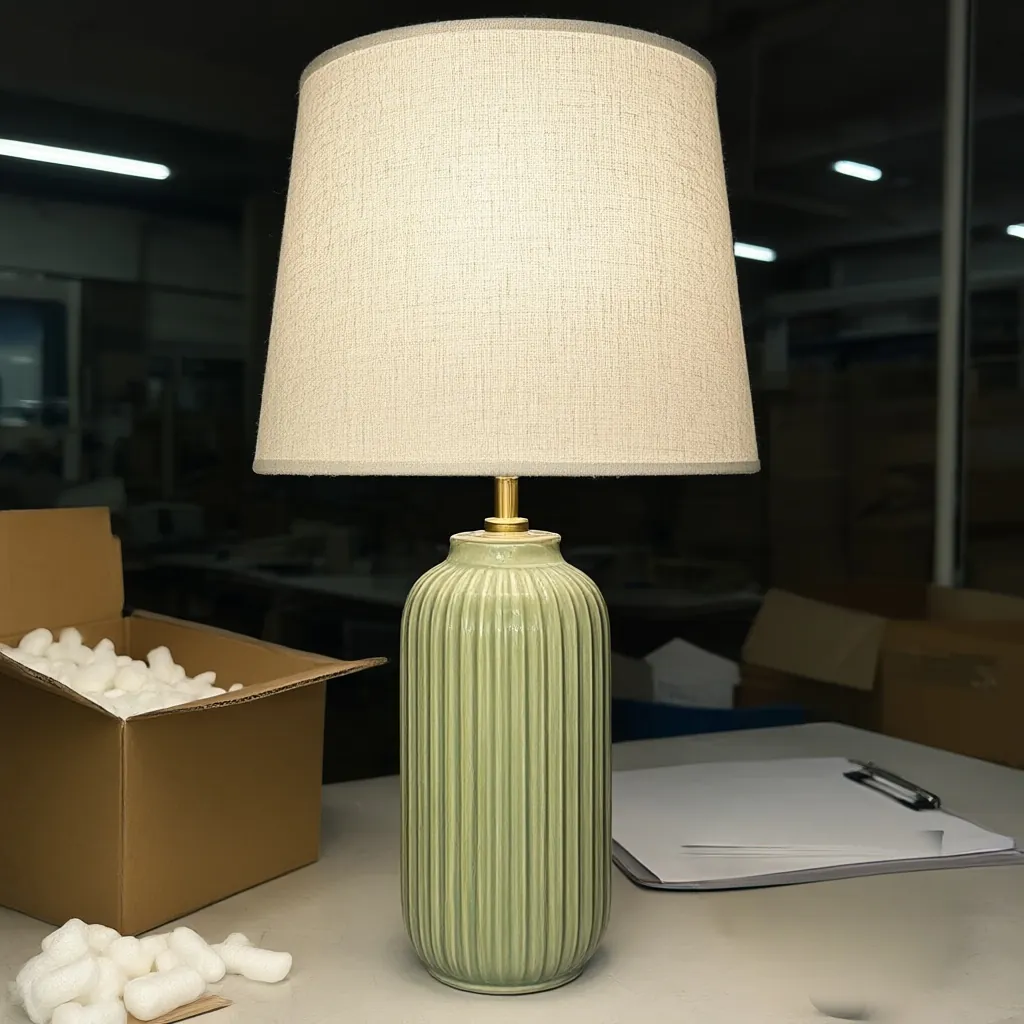
6. Get the color right, and write it down
Colors drift in photos, especially under warm indoor light. Shoot in neutral light where you can, and check the photo next to the real product before you move on. Then write down the finish in words (for example, "sage green ribbed ceramic" or "matte white glaze") along with any words printed on the product or its label. Telling a tool what the product is and what's written on it helps keep those details accurate.
7. Measure while you're there
Width, height and depth take a minute with a tape measure, and you'll want them for the product page anyway. Shoppers can't judge size from a photo alone, and a dimension drawing answers the question before they have to ask.
What to fix with AI, and what to get right on camera
| Fix afterwards | Get right on camera |
|---|---|
| A messy or ugly background | The whole product in frame |
| Tags, tape and clutter beside the product | Sharp focus and fine detail |
| Plain backdrop or styled scene | True color and finish |
| Shape of the image (square, portrait, banner) | Nothing covering the product |
Turn a phone snapshot into a silo shot on pure white.
Silo Shot GeneratorPaint out tags, tape and clutter. Only the painted area changes.
AI Object Remover